

In this article, I will show you how to tighten your SSH server with a simple two factor authentication by using Google Authenticator. Google Authenticator helps you to secure the SSH access to the server by a two-factor authentication
Step 1:
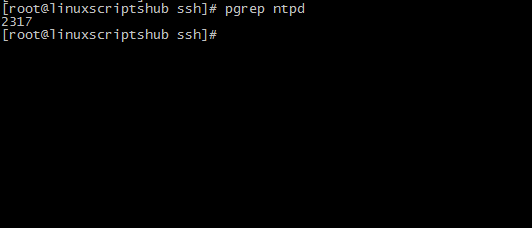
First, I would recommend checking whether the NTP (Network Time Protocol) is running to ensure the server’s time is synchronized as Google Authenticator uses time-based codes/tokens that will fail if server time is not correct. So, check the NTP status. If NTP service is already running in the server, go to google-authenticator installation in . If not, follow the instruction in the step given below.Check whether the NTPD service is running:
pgrep ntpd 3102
If nothing shows up, NTP is not running. So, need to install it:
yum install ntp
Ensure that the NTP is configured to start automatically during the system startup.
chkconfig ntpd on
Sync the time:
ntpdate pool.ntp.org
Start the NTP service
service ntpd start
pgrep ntpd
Step 2:
Install open source Google Authenticator PAM module.If ‘yum install google-authenticator’ says there is no package available try to install the EPEL repo for Centos.
 cd /tmp
 yum install wget -y
 wget http://dl.fedoraproject.org/pub/epel/6/x86_64/epel-release-6-8.noarch.rpm
 wget http://rpms.famillecollet.com/enterprise/remi-release-6.rpm # rpm -Uvh remi-release-6*.rpm epel-release-6*.rpm
Then verify the EPEL repo exists:
yum repolist
…
epel Extra Packages for Enterprise Linux 6 – x86_64
…
Finally, install Google Authenticator:
yum --enablerepo=epel install google-authenticator
Step 3:
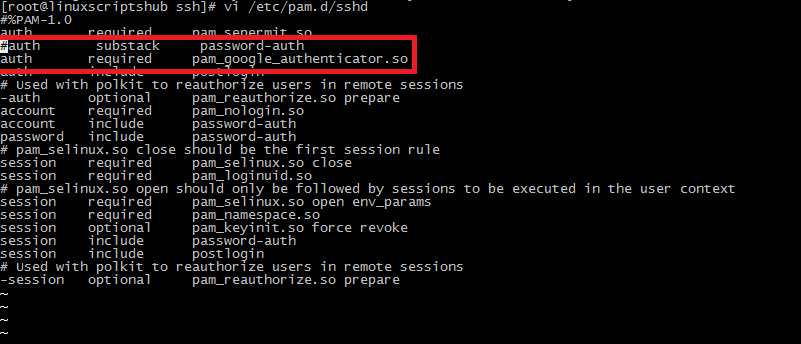
vim /etc/pam.d/sshd
uncomment #auth substack password-auth .add the auth required pam_google_authenticator.So # auth substack password-auth account required pam_nologin. So The Password-auth rule is disabled because you require a key plus a Google Authenticator code, not a password. Now the file looks like this:
Step 4:
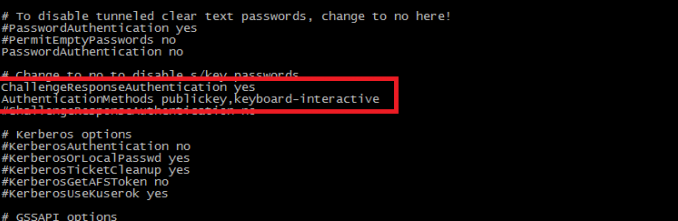
The next step is to update the sshd configuration file in /etc/ssh/sshd_config. Change the ChallengeResponseAuthentication line to `yes’.
Then you have to add the following line to use your public key and two-factor authentication. ‘ AuthenticationMethods publickey,keyboard-interactive ‘
vim /etc/ssh/sshd_config
Step 5:
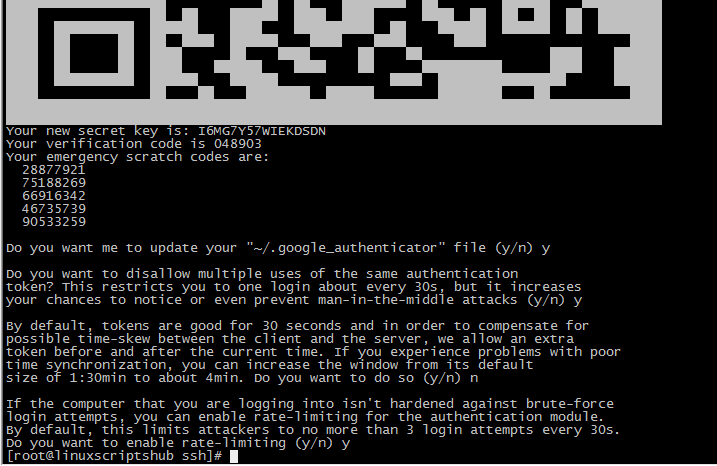
Next, you should configure the users who should be demanded a two-factor authentication.
google-authenticator
Step 6:
Once you have created a Secret key, restart sshd service to apply your changes.
service sshd restart
Step 7:
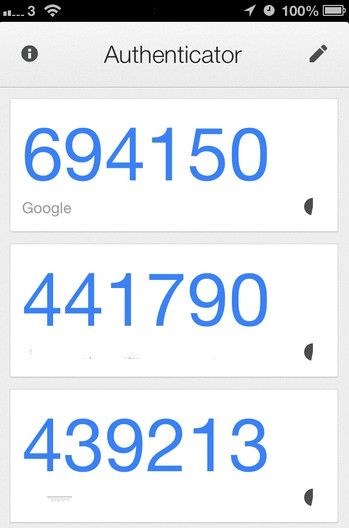
Smartphone App Installation. Then you have to install Google authenticator app in your mobile (Android, Iphone, Windows, Blackberry). You can enter the provided key and then add any account name, enter the verification code and then click add or just scanning the QR CODE to add account.
Step 8:
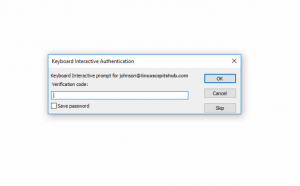
Finally test the service by connecting with SSH to the server to see if it will require verification code. Of course it works.
If this article help, just share it to your friends.


Leave a Reply
Want to join the discussion?Feel free to contribute!