

Keywords analytics that google doesn’t provide you for free.
Assume that you guys have a web server and using google analytics for doing some of the marketing data analysis, and you will notice that actually google analytics are not letting you to know what is the organic keyword that people reach to your site, you only will get something like below:
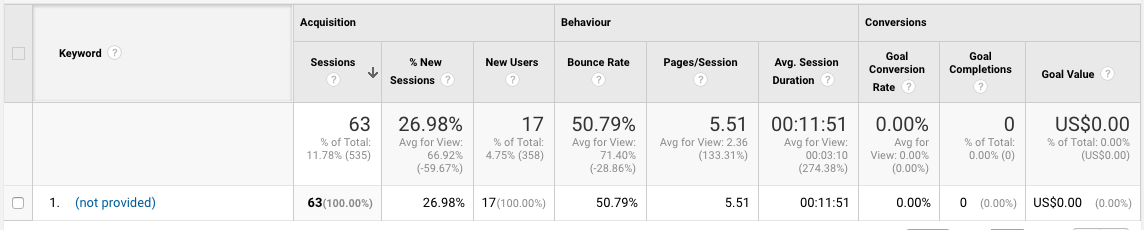
(not provided), oh gosh, it is such a pain for marketer to analysis data.
Keywords is actually not a key-point for doing Digital Marketing, but it is go to have for those marketer to analysis which keyword attracting the most visitor to your website as well.
In linux operating we can found out that you actually can install something call Awstats analytics tools, the important thing is it free.
Benefits of Awstats
- Complete Tracking and Full Log Analysis for Your Website
- Analysis Ip source to your site
- Number of Visitor
- Unique Visitor
- Referring Search Engine
- Search Keywords (Organic) This is what google doesn’t let you know
- Search Keyphrases (Organic) This is what google doesn’t let you know
In this tutorial we are going to install Awstats on Centos to analysis the Website.
You will need to have a machines with Centos Installed.
Centos
Step:1 Install Httpd on Centos
sudo yum update -y
sudo yum install httpd -y
Step2: Disabled Selinux
sudo vi /etc/selinux/config
Look for
SELINUX=enforcing
and changes it to
SELINUX=disabled
Then reboot your server to confirm that your Selinux is Permanently taking effect.
reboot
Then you can verify the status of Selinux by Below Command:
getenforce
and you get get (Disabled) it means that Selinux is already completely disabled.
Step3: Start httpd service and enable it to autostart
sudo systemctl enable httpd
sudo systemctl start httpd
You are now able to view your webpage by http://ipaddress_of_server/
you will see something like below:
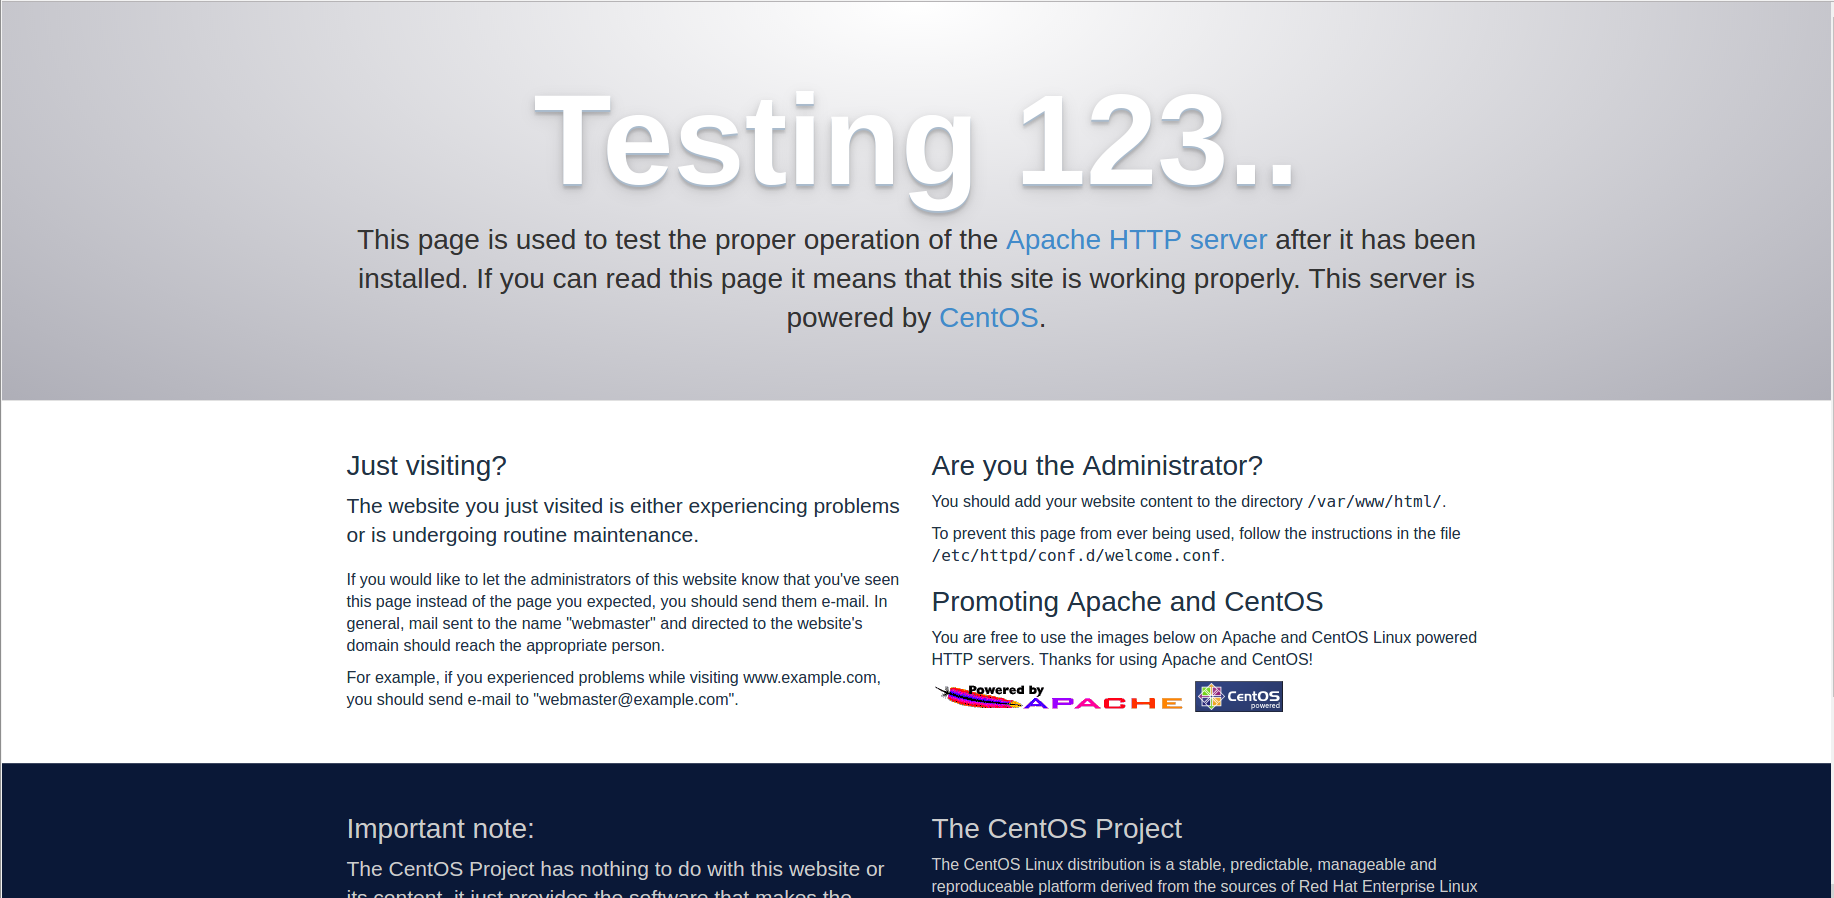
Congratulation, you are now successful install your Web Server on Centos.
If you still have problem on opening this page, it could be your firewalld blocking, please enter below command to allow access.
sudo firewall-cmd --permanent --add-port=80/tcp
sudo firewall-cmd --permanent --add-port=443/tcp
sudo firewall-cmd --reload
Step4: Install Awstats
sudo yum install wget
wget https://dl.fedoraproject.org/pub/epel/epel-release-latest-7.noarch.rpm
rpm -ivh epel-release-latest-7.noarch.rpm
yum install awstats -y
Step5: Configuring Awstats
vim /etc/httpd/conf.d/awstats.conf
please look for below 2 line
Allow from 127.0.0.1
Allow from ::1
and changes it like below:
Allow from all
Allow from all
This setting is allow you to access your Awstats anywhere.
It can be tide up with your personal VPN IP addresses.
Allow from 192.168.88.88
In this tutorial we will use Allow from all to make sure there is nothing restricted.
Step6: Editing hosts file or point the domain the the server ip address
You can be using your domain registrar to point the domain name to this server ip or otherwise you can edit the hosts file like below:
sudo vi /etc/hosts
adding below line with your server ip-address and your lovely domain name.
10.1.1.121 linuxscriptshub.com
sudo cp -rv /etc/awstats/awstats.localhost.localdomain.conf /etc/awstats/awstats.linuxscriptshub.com.conf
sudo vi /etc/awstats/awstats.linuxscriptshub.com.conf
Looking for wording below and add your Domain name as well.
SiteDomain=”linuxscriptshub.com”
HostAliases=”linuxscriptshub.com localhost 127.0.0.1″
LogFormat=1
LogFormat option set to 1 is because we have to get the organic keywords analytics working in Awstats later.
Save and exit the file
Step7: Restart httpd service.
sudo systemctl restart httpd
Step8: Update Awstats to Collect data from your httpd log file.
/usr/share/awstats/wwwroot/cgi-bin/awstats.pl -config=linuxscriptshub.com -update
You will saw something like below:
Create/Update database for config “/etc/awstats/awstats.linuxscriptshub.com.conf” by AWStats version 7.4 (build 20150714)
From data in log file “/var/log/httpd/access_log”…
Phase 1 : First bypass old records, searching new record…
Searching new records from beginning of log file…
Phase 2 : Now process new records (Flush history on disk after 20000 hosts)…
Jumped lines in file: 0
Parsed lines in file: 12
Found 0 dropped records,
Found 0 comments,
Found 0 blank records,
Found 0 corrupted records,
Found 0 old records,
Found 12 new qualified records.
If your Logfile are not standard location as usual. You can be specific in /etc/awstats/awstats.linuxscriptshub.com.conf
LogFile=”/var/log/httpd/access_log”
Now you are able to test your Awstats Log analyze by below link:
http://yourdomain/awstats/awstats.pl
you will be same getting this page like us:
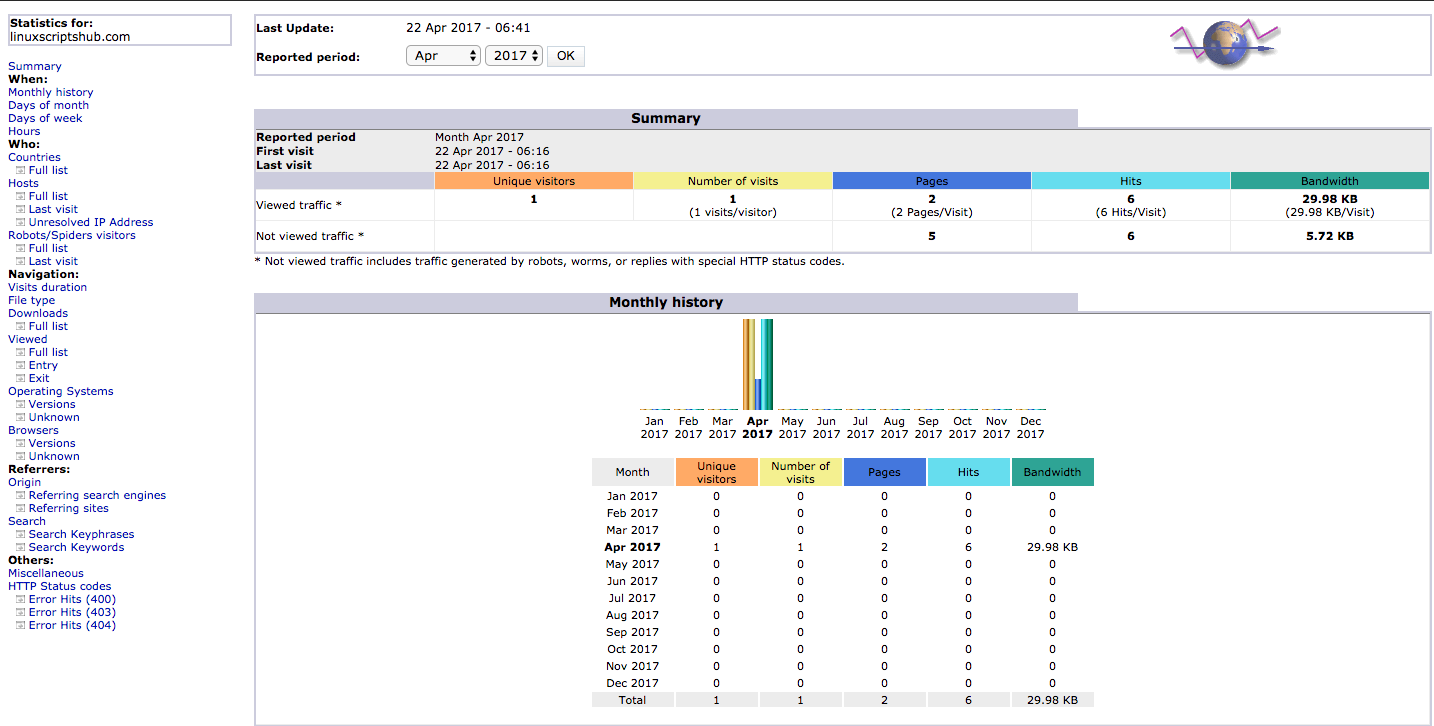
Congratulation, You are now more easy to analysis all your visitor data and the most important thing are keywords.
You can go over the left hand side link, Look for Search Key phrases, Search Keywords.
If you are not getting the same page like us, and you are getting something like below:
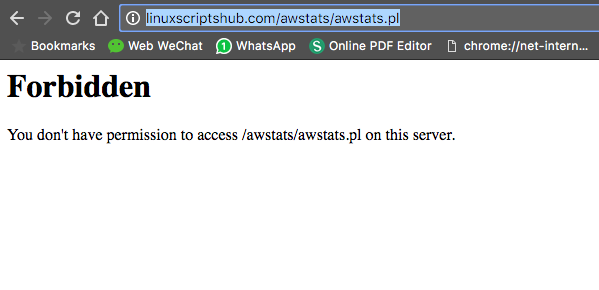
Please proceed to your awstats.conf with below command
sudo vi /etc/httpd/conf.d/awstats.conf
Changes your config like below:
Options None
AllowOverride all
# Apache 2.4
Require all granted# Apache 2.2
Order allow,deny
Allow from all
Allow from all
And try again access your website awstats again.
http://yourdomain/awstats/awstats.pl
For the keywords analytics, of course you have to Wait until visitor hit your side by keywords and only you are able to see the data like below:

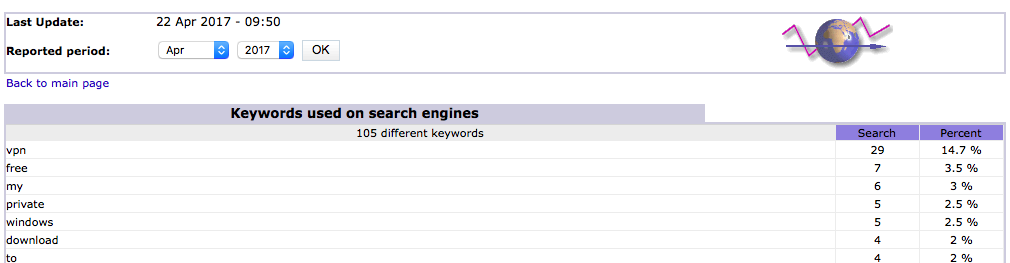
And now we have to set a cronjob for keep update your Awstats data from your access.log of httpd
sudo crontab -e

*/10 * * * /usr/share/awstats/wwwroot/cgi-bin/awstats.pl -config=linuxscriptshub.com -update
Every Ten minutes your awstats will automatic update data from your log file.


Leave a Reply
Want to join the discussion?Feel free to contribute!