

Most of the college/University in some of the country, when the teacher teaching linux course , they do need a virtual machines to setup databases, web server, file server.
Let assuming Student are going to create a web server, and design their website.
It is not a problem for student to create on the virtual machines, but most of the student are hoping that they can have a real online virtual machines which is convenient for them to access from anyway, and also can show their webpage to their friends through a valid domain.
The most important thing are the student have no money for doing all this kind of thing, so they will just stay on the localhost virtual machines.
After all this thing had done, until the student graduate, maybe they still dont know how to put the website live to all over the world, which is not a good learning for student.
This article will bring you go through how we get a real server on google cloud instance.
Step1: Create a Gmail account for free
you can simply sign up your gmail account here
Step2: Access to Google Cloud Console.
you can sign up your google cloud console using the email we create earlier.
Input all your details and Credit card information
Note: Google wont charge you for a Credit card fees after the free trial, google just want to confirm that you are not robot, so they ask for CC details.
Step3: Create a new project using Google cloud console.
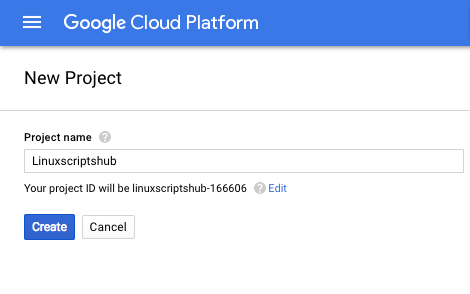
Press create and wait for a while you will get into a page.
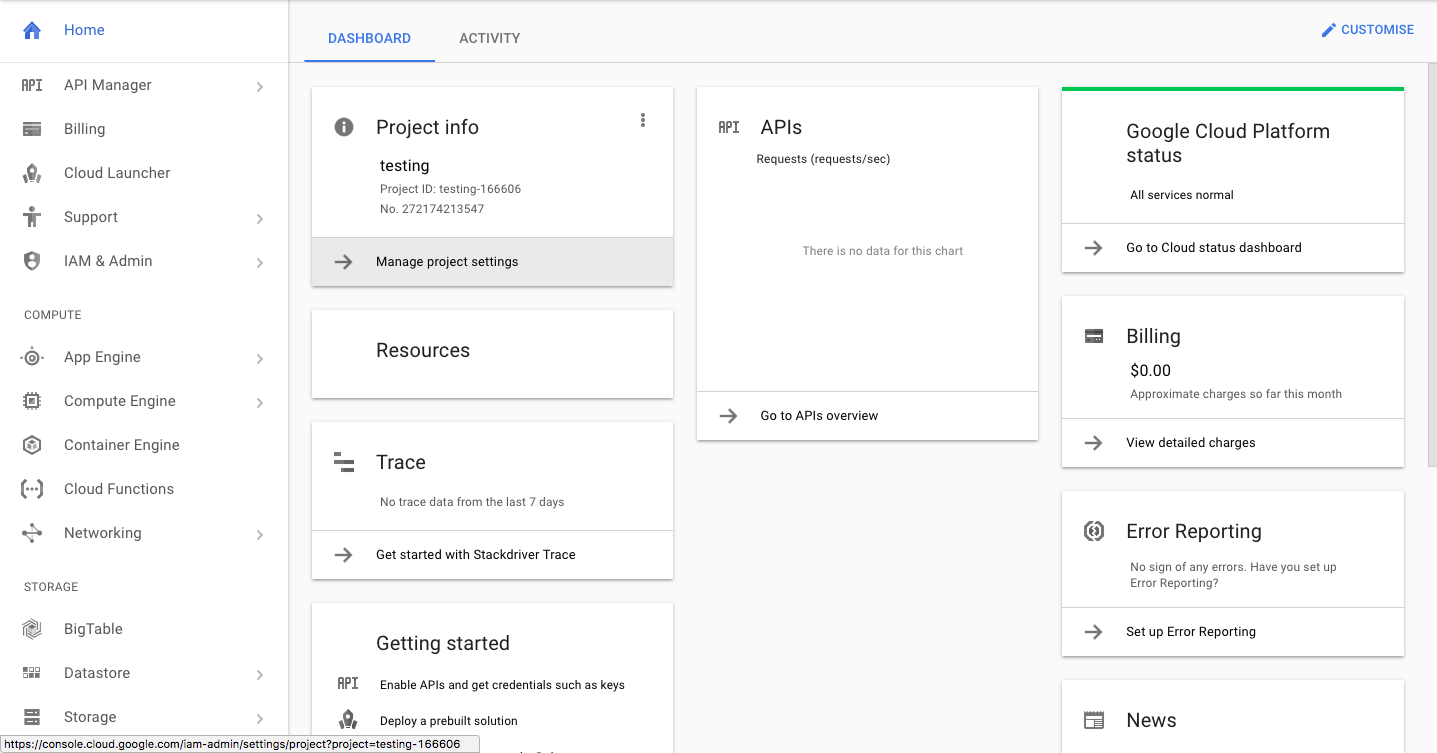
Step4: Create your first server.
At the left hand side, click through Compute Engine and Select Vm instance. Like the picture below:
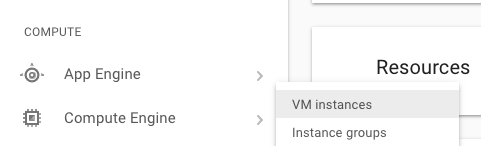
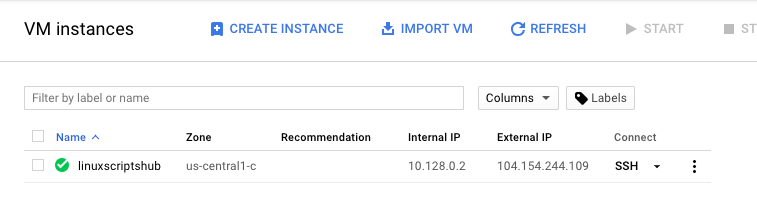
After you click Vm instances, you will get something like below:
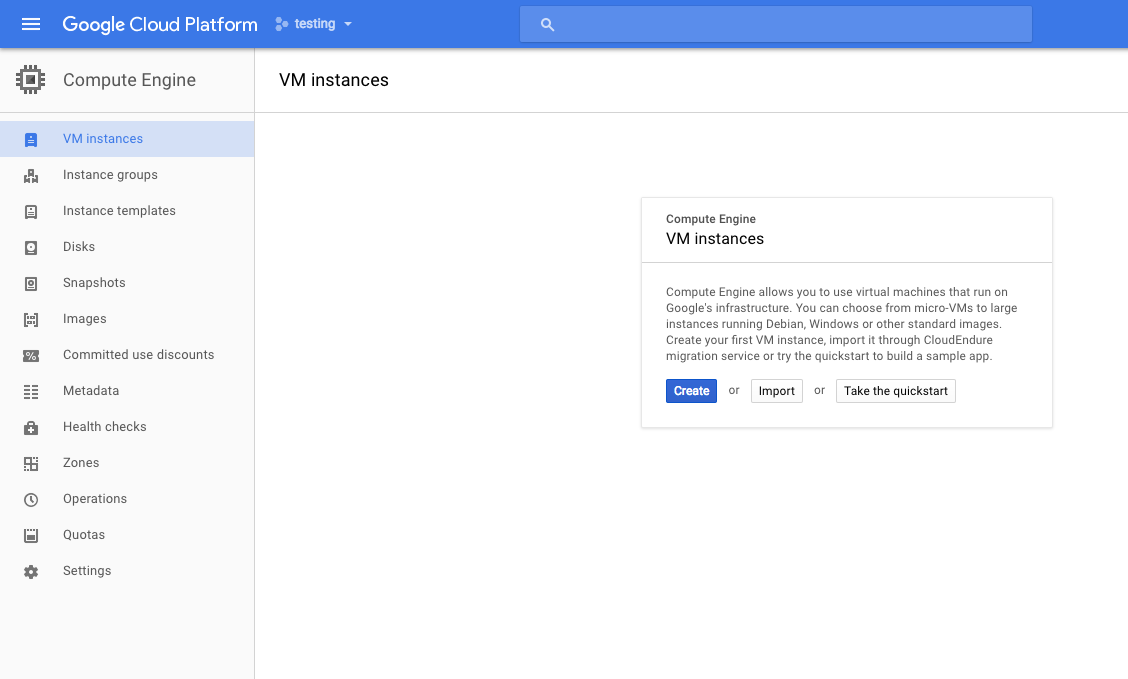
and click on the Create Button.
you will get something like below:
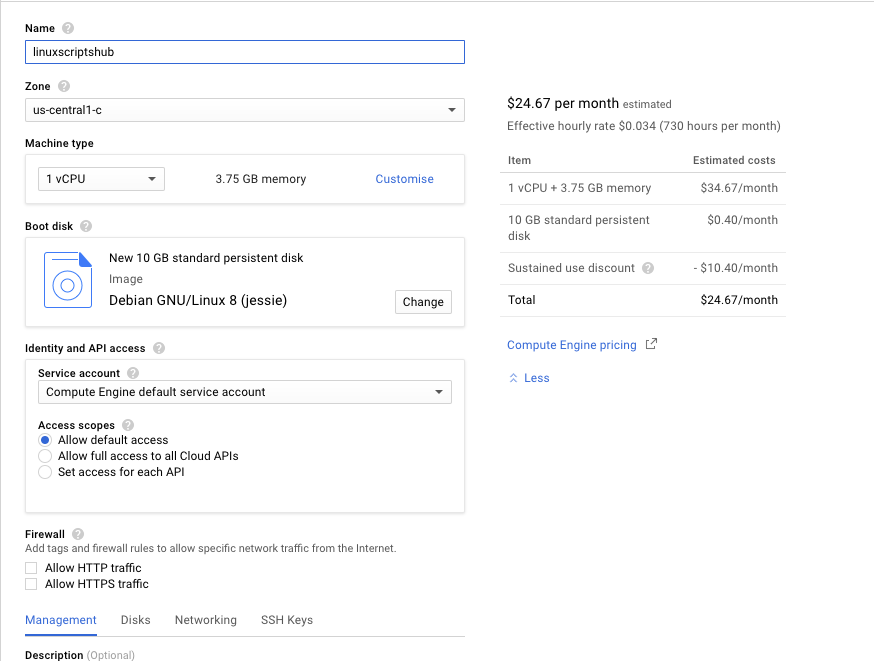
What you need to do is only changes the Name to your hostname ie: linuxscriptshub
In the Zone Section you can simply select anyone of the zone which is near your country , or your target country.
Machine Type, you can choose all this spec based on your need, Google are giving out $300 Free trial Credit for you to play around.
In this tutorial we are Choosing 1vCPU and 3.75gb Ram.
In the BootDisk Section, you can choose your Operating system and in the same page, you can adjust the disk size at below.
Press create and yours server is done.
Step5: Setup Firewall rules.
In this tutorial we will create a firewall rules for default network which is allow all ip address and all the port.(Tutorial Purpose, No Security at all).
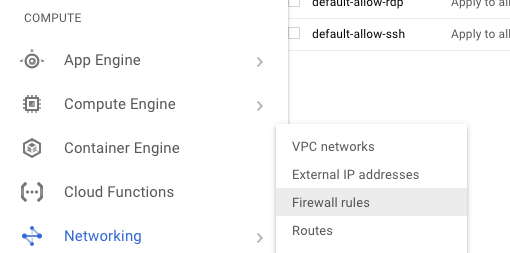
Go to the Left hand side Burger Button. Click it and select Networking Click on Firewall rules.
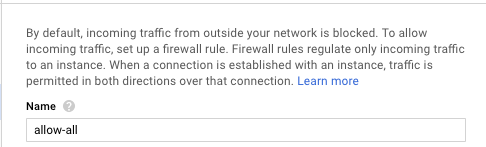
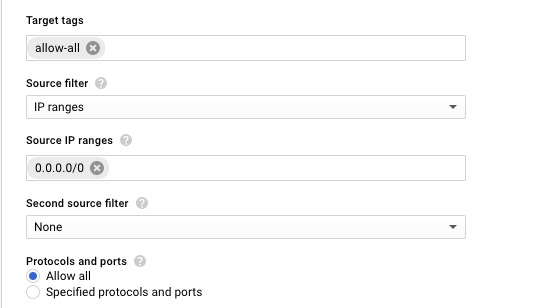
You will get a page like Below, and Setup the name of the firewall rules: ie: allow-all
At the Target tags section, we tag this rules as allow-all which is we have to apply on our instance later.
Source IP ranges we are set to allow all which is 0.0.0.0/0
Protocols and ports select Allow all, means that we accept all the port range 0-65535 tcp,udp and all the other protocal.
Click save.
And you will get something like below:

Means you have successful create the firewall rules.
Step 6: Applying the Firewall rules to the instance we create just now.
Go back to the Compute Engine >> Vm instance
Click into the Instance, Select the Edit button on top of the page.

In the Tags Section, put in the Tags of the Firewall rules we created just now
At the End of the page tick to enable the Serial port to prevent if you block your own outside the server, we still can able to access by using Serial port.

Save and ready to SSH into your machines.
Step7: Access to your instance.
In the same page, go to the top and click the SSH button like the picture.
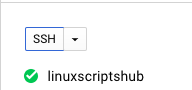
and you will enter a ssh terminal after few second.
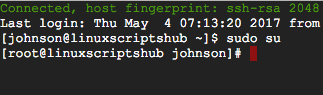
Google will automatic using your gmail username and create a new user on the instance.
After you Enter use below command to enter root.
sudo su
and start set a password for your user ie: linuxscriptshub
passwd linuxscriptshub
After that we have to make some changes on SSH config file
vim /etc/ssh/sshd_config
Look for PasswordAuthentication no, changes to yes.
changes it like the picture below

Save and exit the file.
Restart ssh service.
service sshd restart/systemctl restart sshd (Centos)
service ssh restart/systemctl restart ssh (Ubuntu)
Open up a new terminal on your linux or mac machines.
ssh xxx@xxx.154.xxx.109
The authenticity of host ‘xxx.154.xxx.109 (xxx.154.xxx.109)’ can’t be established.
RSA key fingerprint is 19:ad:2a:dd:88:85:0d:74:ed:32:cc:8f:47:03:88:b7.
Are you sure you want to continue connecting (yes/no)? yes
Warning: Permanently added ‘xxx.154.xxx.109’ (RSA) to the list of known hosts.
xxxx@xxx.154.xxx.109’s password:Last login: Thu May 4 07:14:09 2017 from xxx.xxx.xxx.xxx
[xxx@linuxscriptshub ~]$
Congratulation, you are now using the free trial machines of the google cloud.
Share this to your friend if you found this is useful.
If you facing any problem please comment to let us know at below.


Leave a Reply
Want to join the discussion?Feel free to contribute!